Last week I had a revelation. I had been having odd issues with my workstation for years, which I wrote down to storage being iffy. It ranged from games complaining about corrupt files (of course while trying to play them online, together with friends) to Firefox or Electron apps suddenly crashing.
It was weird, as I had since replaced the original NVMe SSD with another one, from another brand, and even reinstalled all the packages of my Ubuntu installation.
Another suspect was the xanmod kernel I had been running for ages as it gave my computer a nice boost and played nicely together with a more modern version of mesa, which was pretty nice to have in the earlier days of the 6000-series AMD GPU's. My workstation seemed more stable after reverting to the default distro kernels, but I still had a corrupt (game) file now and then, which caught me off guard at the most annoying times - e.g., when trying to play a game together online.
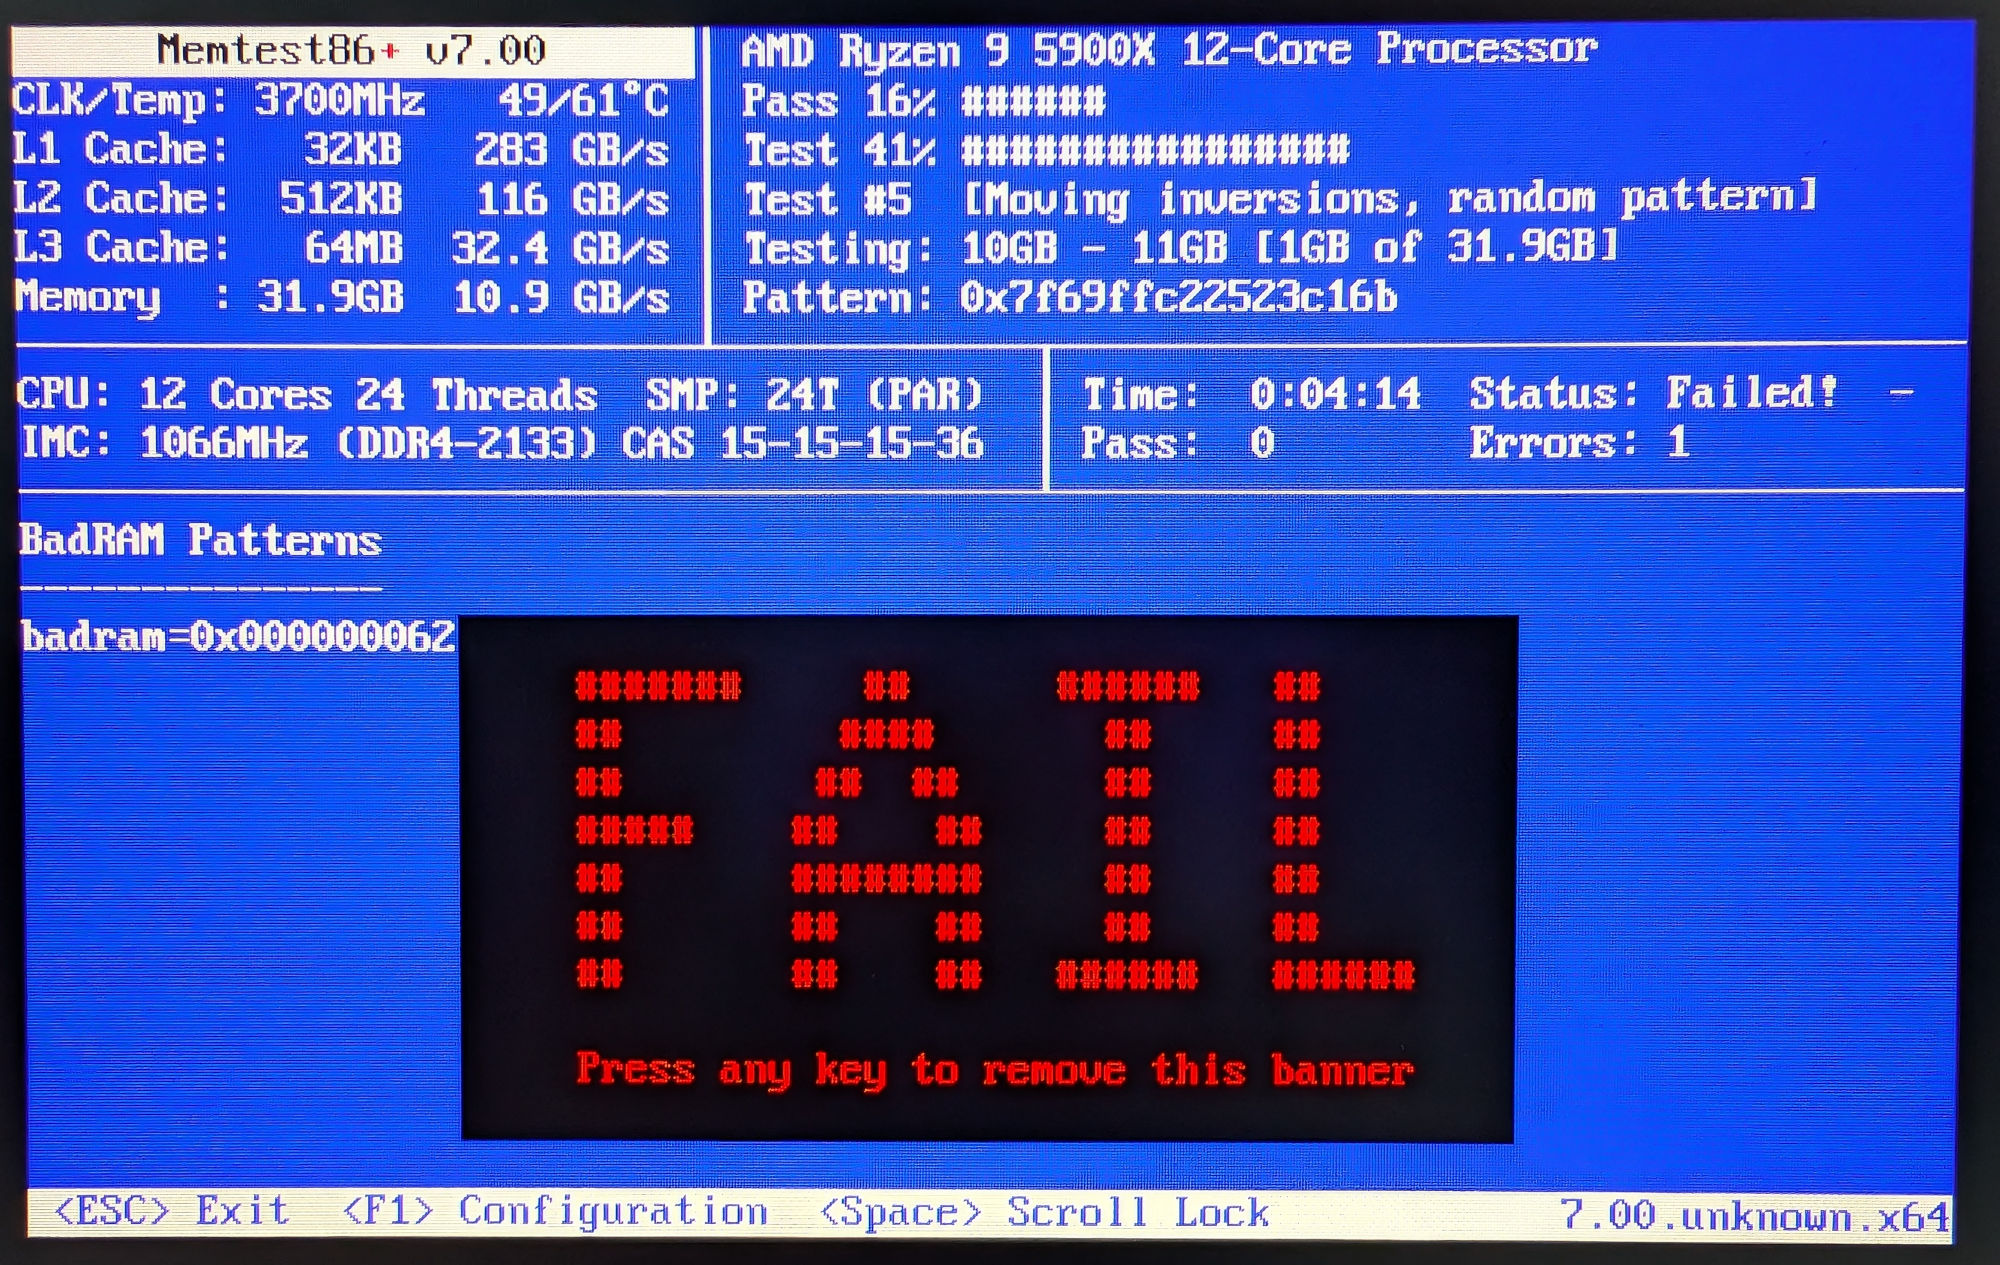
The revelation last week was that I was an idiot, and had not thought about running a memory test against my RAM yet. Five minutes later, memtest86+ was telling me that of course there was something wrong with at least one of the 4 DIMMs in my system. Sigh.
Now what? I do not want to buy a replacement 32GB kit (2x 16GB DIMM), and going back to less memory in total did not sit good with me either. Thankfully, I vaguely remembered that one could tell the OS to blacklist some memory regions so it skips those when assigning memory to whatever processes it manages, which would fix my problems.
The regions looked manageable, so I started looking into how to configure said blacklisting.
First of all, memtest86+ needs to output 'badram' line(s) so you know the regions it is reporting about, instead of having a big list of separate errors. Press F1 to enter configuration, F4 for choosing what reporting type you'd like to see and F4 again to choose the 'badram' one. Finish up with two taps on the F10 button to leave the menus.
This will give you an output like I got:
badram=0x00000000ae070408,0xffffffffffff8e08,
0x00000000ae074100,0xffffffffffffc520,
0x0000000c1e340100,0xfffffffffffff510,
0x0000000c1e340100,0xffffffffffffe180,
0x0000000c1e340118,0xffffffffffffd518,
0x0000000c1e342500,0xffffffffffffe718,
0x0000000c1e344000,0xfffffffffffff128,
0x0000000c1e344000,0xffffffffffffe700,
0x0000000c1e344220,0xffffffffffffd320,
0x0000000c1e347000,0xfffffffffffff100
Isn't it pretty? Look at all those addresses and their corresponding masks! Yeah, they didn't excite me either, but at least it seemed like I was only dealing with two areas.
Another run gave me this:
badram=0x00000000ae070400,0xffffffffffffff20,
0x00000000ae071060,0xffffffffffffd360,
0x00000000ae074188,0xfffffffffffff9e8,
0x00000000ae074b08,0xffffffffffffcb98,
0x00000000ae077100,0xfffffffffffff180,
0x0000000c1e340008,0xffffffffffff9ca8,
0x0000000c1e340100,0xffffffffffffc110,
0x0000000c1e340110,0xffffffffffffc110,
0x0000000c1e344800,0xffffffffffffe908,
0x0000000c1e346000,0xffffffffffffe100
Which was really similar, but slightly different in scope.
OK, back to using this to educate the kernel. I found a small tutorial that basically said1 to edit /etc/default/grub and add a line like GRUB_BADRAM="0x7ddf0000,0xffffc000" (of the format GRUB_BADRAM="addr,mask[,addr,mask...]"). So I put the output of one of those memtest runs on one line, added it to my GRUB config, ran update-grub and rebooted. And waited. I was welcomed by my motherboards' logo and then my computer just sat there, unblinkingly staring back at me. Great.
After some reboots with the same result, I grabbed a live-USB, chroot'ed into my install, commented the GRUB_BADRAM= line and ran update-grub. Computer booted again, hmkay. Tried enabling again, but with just one address/mask pair. Instant abyss staring again. H-uh.
In the meanwhile, I updated the bios of my system from a version released in 2021 to the latest from 2024, which had the only effect that instead of having text-based applications like GRUB and memtest86+ be blown up to use the full monitor, those applications were rendered as funny little post-stamp sized screens in the middle of a sea of black. Anyway, apart from looking pixel-perfectly cute, they are still usable, so I left this as it is.
Back to GRUB wrestling. One thing I noticed about the (exactly same) example online that I found 'everywhere', was that it used an address of 8 characters long (0x7ddf0000, 32-bit) and the addresses I had are 16 bytes (64-bit). I tried trimming the first 8 bytes, but for the 0000000c1e340100-like ones, that would mean stripping off the leading c which surely had meaning.
After more DuckDuckGo'ing, perchance I ran across this comment deep in a StackExchange thread. It talked about GRUB actually being able to handle 64-bit addresses (as I was afraid it would only be able to take 32-bit ones and would have to convert my ranges to use the memmap= option instead). BUT, it had a bug:
it seems like there's a bug in GRUB that causes it to hang when the highest bit in a 64-bit
badrammask is set.
Well then.
Assuming you have less than 8 exbibytes of memory (a rather reasonable assumption in 2024), you can safely clear the highest bit of the mask part of each
addr,maskpair by replacing the firstfin the mask with a7. This has no effect on which memory pages theaddr,maskpair will select for exclusion.
Lo and behold, that actually worked. Thanks, kind stranger 101arrowz!
I simplified the two regions to this:
GRUB_BADRAM="0x00000000ae070000,0x7fffffffffff0000,0x0000000c1e340000,0x7fffffffffff0000"
After booting again, I only seem to have lost about 4KB of memory (which is nothing compared to the 64GB total I have - I was prepared to take a much bigger hit) and after stress testing for a bit, my workstation seems to be a lot happier. I still have to see if this keeps away all the crashes and corruption, but at least my confidence is slowly coming back.
-
You can even do this for Windows! See same howto. ↩